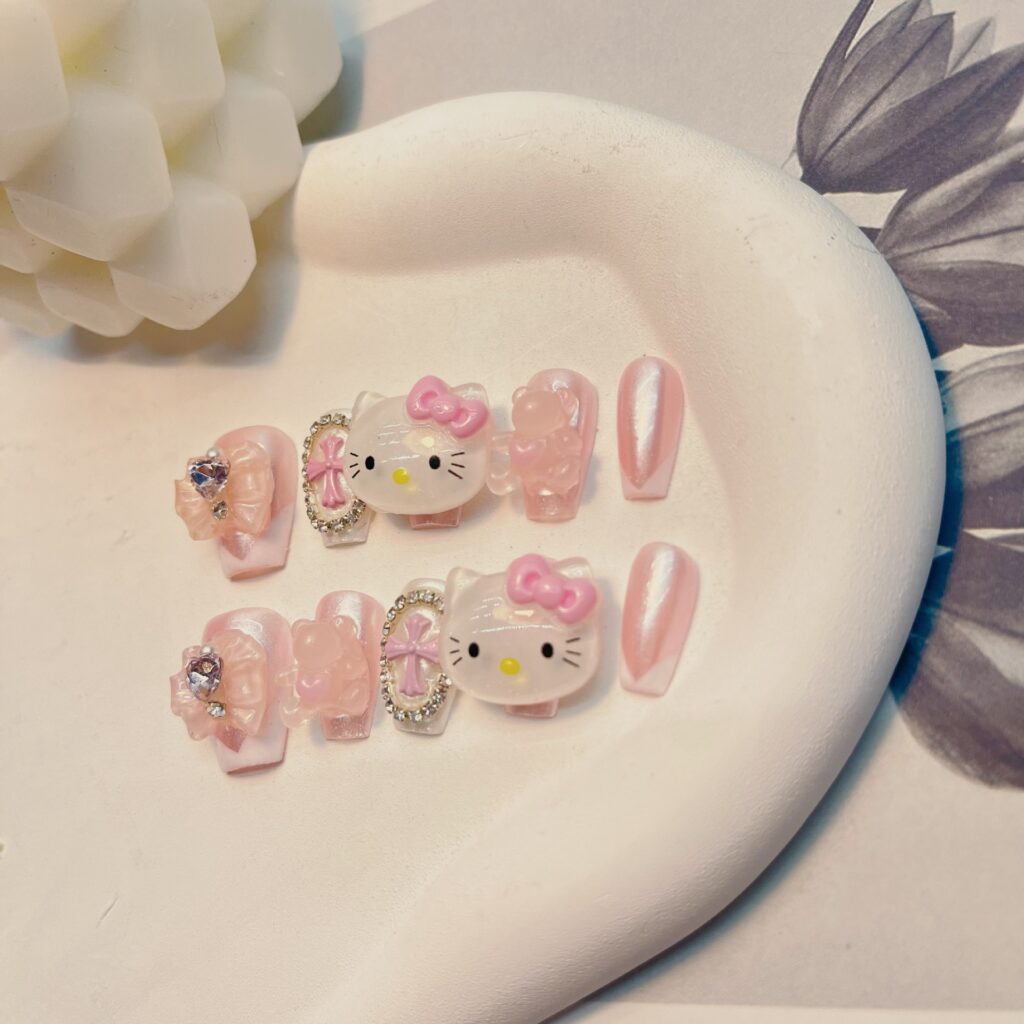
Guides
Customize the process of wearing the nail plate
The process of customizing a nail plate usually includes the following steps:
First, prepare tools and materials
Nail plate: Choose a non-trace and non-abrasive nail plate, and select the appropriate inner arc data according to personal nail size.
Tools: including file strip, sponge, ruler, nail lamp, nail holder, one-line scissors, functional glue (base glue, reinforcing glue, rubber scrub, bright drill sealing layer, non-stick powder scrub, dizzy glue, drill glue, etc.), jelly glue, etc.
Accessories: such as shells, glitter, large sequins, rhinestones, sequins, cellophane, gold and silver, etc., for decorative wear nails.
Second, measure and trim nails
Measure the nail surface: Using a soft ruler firmly against the nail surface, measure the widest part of the nail surface (the distance from the left nail groove to the right nail groove).
Trim the nail plate: According to the measurement results, cut the nail plate to the appropriate length.
Polish the nail plate: Polish the back edge of the nail plate with a fillet and carve the entire nail surface to the desired A. Then use a sponge to dispose of burrs and details and clean the dust from the surface of the nail plate.
Third, glue and paint
Primer: Whether on the nail or nail plate, primer should be applied to increase adhesion and prevent warping.
Coloring glue: Apply the first layer of coloring glue as needed, which can be uneven but flat, and then apply the second layer to achieve an even effect. In this step, you can apply blush, blur, gradient, paint, stick drill and other operations.
Reinforcement and decoration: Apply reinforcement glue as needed to increase the strength and durability of the nail plate. Then decorate, such as pasting shells, glitter, large sequins, rhinestones and other ornaments.
Fourth, sealing layer and lighting
Coat: The final step is to apply a coat to make the manicure more durable and smooth.
Light curing: Use a nail lamp to illuminate the nail surface to cure the primer, color glue, reinforcing glue and sealing layer.
Fifth, wear and adjustment
Choose the right way to stick: You can use jelly glue or special glue to attach the nail to the nail. If the jelly glue is used, it needs to be attached to the appropriate position away from the root of the finger edge and pushed to make it fit.
Adjust and press: Make sure the nail is perfectly fitted to the nail without air bubbles and gaps. Press firmly on the edges and corners of the nail to make it more secure.
Sixth, removal and maintenance
Remove the wearing nail: When you need to replace or remove the wearing nail, you can use the gift of a small stick to make a small opening at the bottom, and then soak in hot water for a while, you can easily peel it off.
Take care of your nails: After removing your nails, take care of your nails by using a nourishing nail oil or hand cream to moisturize your nails and hands.
Through the above steps, you can complete the process of customized wearing nails. It should be noted that in the operation process to be patient and meticulous, to ensure that each step is correct, in order to obtain satisfactory wearing nail effect.


This is literally the best nails i have ever had. I have gotten many nails before and you can easily tell how high quality these nails are. I went in person to get my set that i have now (Daisy Drizzle) and I couldn’t love them more! Service was a 10/10 and i’m currently on my way to get more sets!!!! Love these nails so much and i highly recommend them to anyone.
💖 We’re so happy you love your Daisy Drizzle set and had a great experience with us. It means the world to hear how much you appreciate the quality and service. Can’t wait to see you again 💅✨ Thank you for the sweetest review 💕